Glovebox Light
Apparently a glovebox light didn't fit with Honda's marketing strategy, the target demographic for which was outdoorsy types in their 20s. I guess being able to see what's in the glovebox at night is just too sissy for those rough-and-tumble surfer dudes.
There are basically two ways to go with this installation: LED or incandescent. The virtue of LEDs is that they draw so little power that you can run them off small batteries, avoiding the need to tap into the car's 12V power. Incandescents are brighter, with a nicer light temperature (even "white" LEDs tend to be bluish) and a wider diffusion pattern.
Removing the Cover Panel
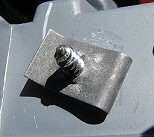
In this case, one of the screws had been overtightened and stripped during assembly at the factory, so the screw just turned and turned. I had to force the cover off. Happily, the structure that holds the spring nut broke off cleanly (Figure 2), and since I have no intention of putting either of the two screws back, there's no loss. |
||||||||
Switch
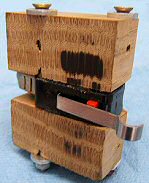 Figure 3 |
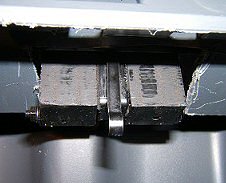 Figure 4 |
Once the switch assembly (Figure 3) was shaped to fit, I painted it and installed it above the glovebox. This required cutting out a section of the plastic lip and securing the switch assembly from above (Figure 4) with two screws. The spacing was close enough to perfect that I needed only to add a 1/8" thick adhesive silicone "foot" to the glovebox door to make it activate the switch. You can see the switch in context in Figure 5; from the driver's or passenger's eye level, it's barely visible.
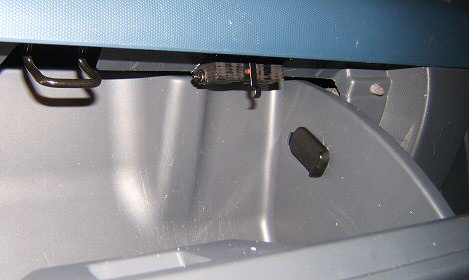
Figure 5
Bulbs
 Figure 6 |
The result can be seen in Figure 7. The light is a little less blue than it appears in the photo, and of course brighter as well, since I used ambient light in the photo to provide context. Even so, I wasn't completely happy, so it was back to the drawing board.
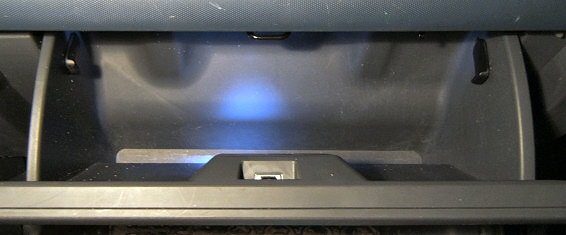
Figure 7
 Figure 8 |
 Figure 9 |
||
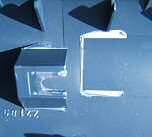
On the car, I drilled and filed a suitable hole for the socket (Figure 10; the two small holes on either side are left over from the prior LED installation). The fore-and-aft placement is actually pretty critical here. There's a metal lip underneath, beginning about 1/2" from the aft crease, that interferes with working the material and fitting the socket. If I were to do it again, I'd place the hole about 1/8" forward of its present location. That would require removing the upper cover, which hindered drilling and filing somewhat.
The socket locks in place with a little clockwise turn (Figure 11) and just fits under the middle dash cover—which happily covers all this ugliness.
 Figure 10 |
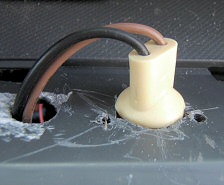 Figure 11 |
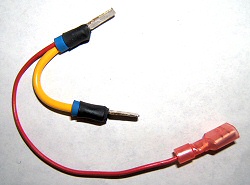 Figure 12 |
Power
Unswitched 12V comes from a relay socket, previously jumpered to make the rear power outlet always on. The new jumper is tapped with a second wire (Figure 12).
Results
... are good! The light is sufficiently bright, a pleasant temperature, and widely diffused (Figure 13).
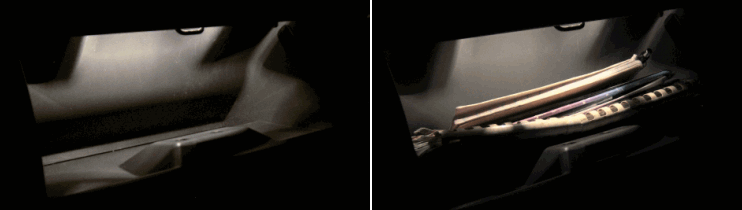
Figure 13
Another Method
Clex2 has done a nice glovebox light using BMW parts. See his writeup at Element Owner's Club.