Inside Liftgate Release Hardware
Cable Sheath Mounting Collar
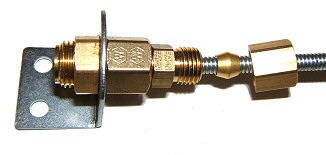
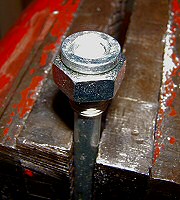 Figure 1 |
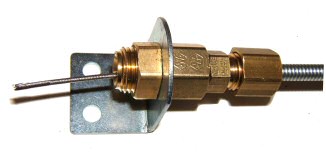
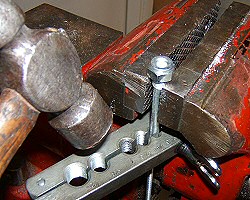 Figure 2 |
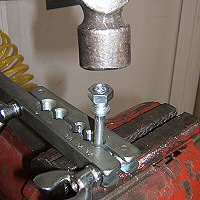 Figure 3 |
| The threaded collar on the
Dorman manual choke kit
(Part 55101) has the flange in front and threads in back (Figure 1). This makes for a nice looking installation, but it is difficult to
install the nut from behind in a tight space, and in this application the collar is not visible anyway. To hold the shaft so I could drive it out of the collar, I used the holder part of a brake line double-flaring tool kit (Figure 2). Common pliers might work but are more likely to slip and scratch; vise grips could crush the shaft. The top of the collar has an internal restriction, or throat, that must be drilled out to 1/4" (not pictured). After moving the nut flush with the end to avoid mashing the threads, I tapped the collar back onto the shaft (Figure 3). The finished assembly with collar reversed (Figure 4) makes installation much easier. |
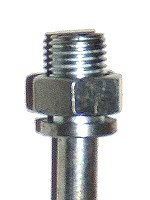 Figure 4 |
Cable-End Barrel Stop
There's more than one way to skin a cat, and you might find bicycle cables and hardware that will work for this job. On subsequent installations, I used a variety of brass tubing and brake fittings, as shown in Figures 5–7.
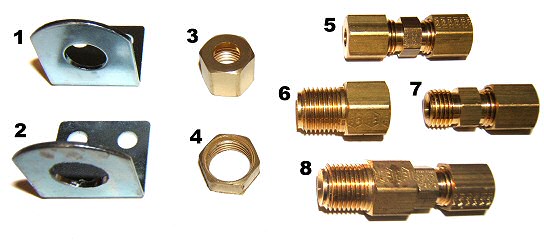 Figure 5 |
| Figure 5-1: Right-angle bracket from choke cable kit Figure 5-2: Bracket with large hole drilled out to 7/16" Figure 5-3: Compression nut for 1/4" tubing (Watts A-3 PB61) Figure 5-4: Compression nut cut down to act as a lock nut Figure 5-5: 1/8" double compression fitting (Weatherhead 62x3) Figure 5-6: Adapter, 3/16" inverted male by 1/4" inverted male (Weatherhead 7818) Figure 5-7: 1/8" double compression fitting with one compression nut and collar removed Figure 5-8: 1/8" fitting joined to adapter Figure 6: On bracket with sheath, compression collar, and nut Figure 7: Finished barrel stop assembly with cable |
|