Disabling the Driver's Side Seat Belt Beep
I prefer to decide for myself when to buckle my seat belt, and not be subjected to a scolding beep. There are at least three ways to disable the "seat belt unbuckled" beep, but two popular methods—tying closed a switch inside the buckle, or jumpering a connector under the seat—work by fooling the SRS into thinking the seat belt is buckled when it's not. In the event of a crash, the SRS would make decisions about airbag deployment using bad information. The method described below does not fool the SRS, yet prevents the beep and warning light from activating. Many thanks to Honda Tech for coming up with this procedure and posting it on EOC.
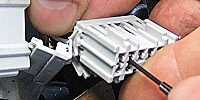
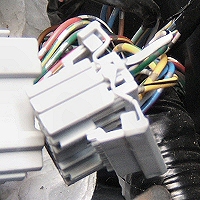
Behind the subwoofer enclosure (EX) or storage bin (DX, LX), on the right side, are two ganged connectors: one white (inboard) and one gray (outboard). Depress the release tab on the back of the gray connector (arrow, Figure 1) and slide the plug back and out.
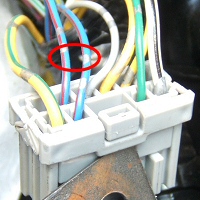
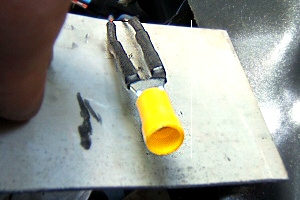
On the back side of the plug, locate two blue wires with red trace (Figure 2).
The easiest method is to cut the wires and splice them together. (Leave the stubs on the connector alone; don't splice them.) But to make the modification reversible, remove the wires from the connector block with their terminals intact, and jumper them. To wit:
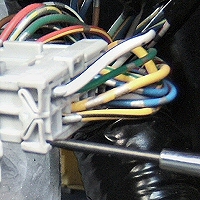
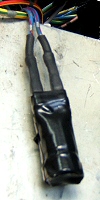
On the back of the plug are "secondary terminal locks" on top and bottom. Carefully unsnap the locks by prying on each corner (Figure 3), then slide them back and away (Figure 4).